Q&A: Bike Filming & Editing on the Go
Thanks for the questions--I love answering them!
We love hearing from everybody—thanks for the questions.
From Geoff in Seattle:
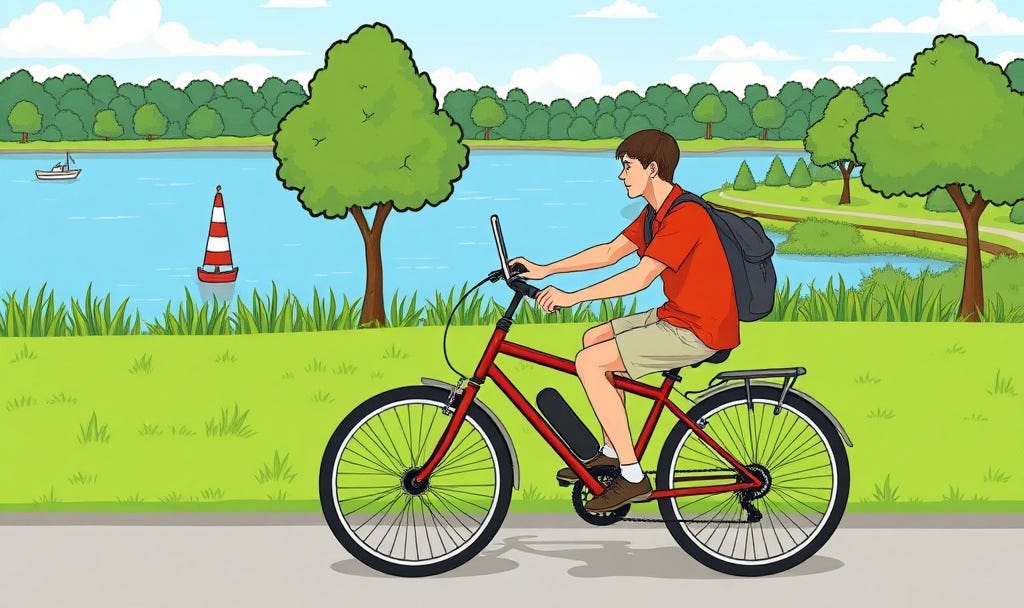
“Looking for a tip on filming from a bicycle. On my bike to work I pass a few spots in Seattle that I’d like to share with students, a virtual field trip. I”m looking for a tool that would help me hold my iPhone steady while I bike (slowly!) by a spot and narrate a video of what I see. I don’t think I want to attach my phone to my helmet or chest, not sure they’ve give me the option of choosing what to shoot-b/c I have to keep my eye/head on the road! Maybe a selfie stick?”
Thanks Geoff—sounds like a great idea, and I have several suggestions.
Let’s go down the list:
Yes, you could always buy a bike clamp ($50) or a chest attachment and connect a GoPro or Insta360 camera to it, but as you say, you’ll end up recording everything, and it would be a bear to go through the footage.
(Did you know that on the GoPro Hero 13 you could use your voice to start recording? Just sayin’)
But you want to use your phone, and I get it. It’s always with you. And you can click on record when you’re ready. So let’s talk the Selfie Stick. I think that would be a great tool for you, but I don’t want you riding your bike around town with one hand on the handlebars.
So how about a nice clamp that can connect to the handlebars for your iPhone?
The stabilization on the phone is so good, the footage will look amazing, and the phone is more foolproof to use than a GoPro.
For clamps, I found this model on Amazon for $25, and not only should it work for you, but you can use the iPhone, GoPro, Insta360 or DJI’s popular Osmo 3 mini camera.
You’ll want the iPhone camera lenses facing your route, which is great for you, as the screen will be facing you and you’ll be recording everything you’re seeing.
May I suggest adding a small microphone for these narrated trips? The wind noise on the internal iPhone won’t be a bargain. I swear by the Rode Wireless Micro models, which sell for $99.
This help? Good luck with the project and let us know how it goes!
Editing on the Go
From Arthur in Maine:
“We are heading to St. Maarten in April. I’m planning to bring both my iPhone 15 Pro Max and my Pixel 8 Pro. I realize that if I edit photos from the two devices using their native apps, the color look will likely differ.
Would you start the editing process in the native apps on each phone?
Since the colors would likely differ, would you then send them to Lightroom to work on matching them?
Or would you start in Lightroom for all the edits from the beginning?
My take: yes, the colors will be different, because the cameras record them differently, but so what? They are what they are, and they’re never going to match perfectly. I use different phones all the time, and the differences have been very subtle. Not a problem.
When I’m on the road (which is very often!) I usually edit a handful of images in the native phone apps (Apple Photos, Lightroom and Radiant Digital Imaging) and post to social, but do the bulk of everything when I get everything imported to the computer at home, through Lightroom Classic.
The important thing is to get them backed up when traveling, which is hard to do, with often poor hotel internet.
SmugMug, the online service you use, has an automatic uploader from phones, but with bad wifi, you don’t often get very far. (Amazon Photos has a similar offering.)
May I suggest bringing a flash drive or hard drive with you on vacation, and copying to these devices on the road.
The great thing about having the iPhone 15 and Pixel phones, is that you can connect a drive directly to them via the USB-C port, and back up without having to worry about poor wifi. (Same goes for later iPhones 16 and 17, but not earlier.)
But you’ll need to do a few things first:
—Format the drive to exFat on your computer before you get started.
—On the iPhone, connect the drive, highlight the images you want to move, click the Share button, and look for “Export Unmodified Original.” Select it, and then it will automatically move you into iCloud. From here, swipe until you see your drive show up. Create a new folder on the drive and move the images. The process should take about 10% of the time of an internet upload.
—On the Pixel the process is similar. Connect the drive directly to your phone, open the Files by Google app, select the photos and choose “Move to” or “Copy to” in the menu to move them to the external storage.
This help?
What’s In a Name?
Thanks everybody for weighing in on a name for my production company end screen at the end of the Photowalks show.
The easy one to pick was Photowalks Productions, but what if we branch out into a second show? Many voted for Handheld Media, while others advocated for Open Road Productions. “So evocative and full of possibilities,” says my friend Kitty. And adds Tim: “I like Storywalk media.”
So now I’m leaning to Open Road, even though there are Open Road Productions out there—so how’s “Open Road Storyworks?” It looks good on the title card, don’t you think?
As always, keep the questions and comments coming! I love hearing from everyone.
Jeff


